Transforming Your Garage Floor with Epoxy: A 2-Day Makeover
A garage isn't just a place to park your car; it's an extension of your home and, for many, a functional workspace. If your garage floor is showing signs of wear and tear, it might be time to consider a makeover.
Recently, we undertook an impressive 2-day project to completely transform a 418-square-foot, 2-car garage using high-quality epoxy flooring. Here’s a detailed look at what was done, the materials used, and the incredible benefits of epoxy flooring for garages.
Before and After: A Visual Transformation
Watch the Transformation: One of the most satisfying parts of this project was witnessing the dramatic before-and-after change. You can see the entire process in our video, showcasing how in just 2 days, the garage floor was completely transformed. From cracks and severe spalling to a pristine, glossy finish, the difference is night and day.
The Process: Repairing the Foundation
Preparation and Repairs: The first day was dedicated to preparing and repairing the garage floor. This involved several critical steps:
- Repairing Severe Spalling: 280 square feet of the floor suffered from severe spalling. We used a polyurea fortification material to repair these areas, ensuring a strong, durable base.
- Crack Repair: Deep cracks were another major issue. We chased out all cracks and removed loose chunks, then filled them with a mix of epoxy and sand (301/TG sand) to create a smooth, even surface.
- Installing Wood Footings: We installed 60 linear feet of 2x4 wood footings. These were caulked and coated to match the floor, adding both stability and a cohesive look.
The Process: Installing the Epoxy Floor
Floor Coating Installation: On the second day, we focused on installing the epoxy floor coating. We chose Dolphin Pearl 1/4 inch chips for the epoxy floor color, giving the garage a sleek, modern appearance. The epoxy application not only provided a stunning visual upgrade but also added a layer of protection and durability to the floor.
The Benefits of Epoxy Flooring for Garages
Epoxy flooring offers numerous advantages, making it an ideal choice for garage floors:
- Durability: Epoxy floors are incredibly tough and resistant to wear and tear. They can withstand heavy foot traffic, vehicle weight, and the impact of dropped tools without chipping or cracking.
- Easy Maintenance: One of the most significant benefits of epoxy flooring is its ease of maintenance. Spills and stains can be quickly wiped away, and the smooth surface makes cleaning a breeze.
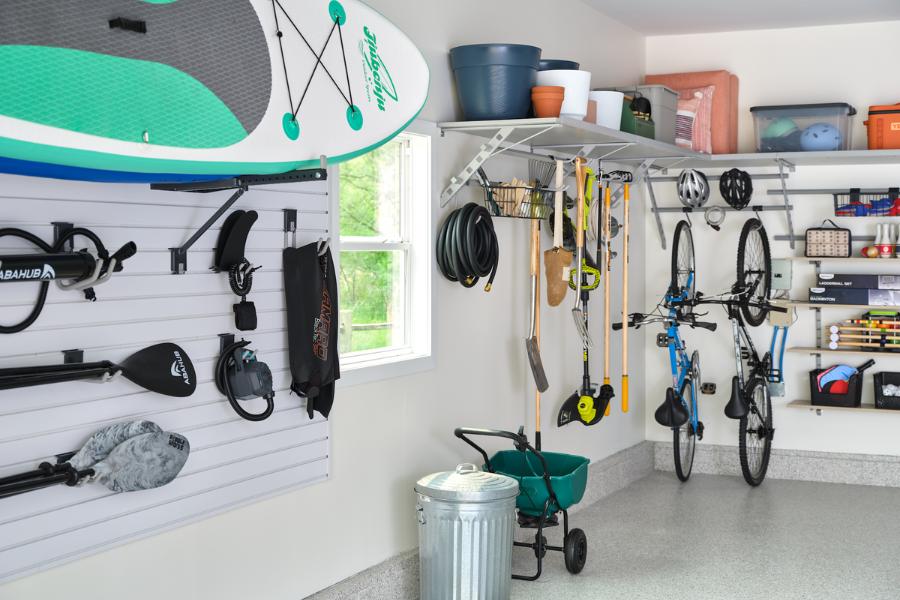
- Aesthetic Appeal: Epoxy floors come in various colors and finishes, allowing you to customize the look of your garage. The Dolphin Pearl chips we used in this project provided a stylish, high-gloss finish that enhanced the overall appearance of the space.
- Safety: Epoxy coatings are slip-resistant, reducing the risk of accidents in the garage. This is especially important in areas where oil spills or wet conditions are common.
- Cost-Effective: Considering its longevity and low maintenance requirements, epoxy flooring is a cost-effective solution in the long run. It reduces the need for frequent repairs and replacements.
- Increased Property Value: An attractive, well-maintained garage floor can boost your property’s value, making epoxy flooring a worthwhile investment.
Why Choose Epoxy for Your Garage Floor?
Questions You Might Have:
- What makes epoxy floors so durable? Epoxy flooring is made from a mix of resins and hardeners that create a tough, chemical-resistant surface once cured.
- How long does it take to install an epoxy floor? As demonstrated in our project, a professional installation can take as little as 2 days, depending on the condition of the existing floor and the scope of repairs needed.
- Is epoxy flooring suitable for DIY installation? While some DIY kits are available, professional installation is recommended to ensure a flawless, long-lasting finish.
Step-by-Step Guide to Epoxy Flooring Installation
- Assessment: Evaluate the condition of the existing floor to determine the extent of repairs needed.
- Preparation: Clean the floor thoroughly, remove any stains, and repair cracks and spalling.
- Footing Installation: Install and secure wood footings if necessary, ensuring they are caulked and coated to match the floor.
- Epoxy Application: Mix and apply the epoxy coating, adding color chips for a decorative finish.
- Curing: Allow the floor to cure fully before using the garage. This typically takes 24-48 hours.
FAQs
- How long does an epoxy floor last?
- With proper care, an epoxy floor can last 10-20 years.
- Can I customize the color of my epoxy floor?
- Yes, epoxy flooring comes in a wide range of colors and finishes.
- Is epoxy flooring eco-friendly?
- Many epoxy products are low-VOC and eco-friendly, but it's best to check with your installer.
- How do I clean an epoxy floor?
- Regular sweeping and occasional mopping with a gentle cleaner will keep your epoxy floor looking new.
- Can epoxy flooring be installed over existing concrete?
- Yes, as long as the concrete is in good condition and properly prepared.
- What are the costs associated with epoxy flooring?
- Costs can vary based on the size of the area and the condition of the existing floor, but epoxy flooring is generally cost-effective over time.
Conclusion
Transforming your garage floor with epoxy not only enhances the look of your space but also adds significant functional benefits. From durability and ease of maintenance to improved safety and property value, epoxy flooring is a smart investment for any homeowner. In just 2 days, you can achieve a remarkable transformation, as seen in our recent project. Watch the video to see the incredible before-and-after results and consider epoxy flooring for your garage today.
Contact Us: Ready to transform your garage floor? Contact us for a professional consultation and see how we can bring new life to your space with epoxy flooring.


.png)
.png)


